Why You’ll Love This Chocolate Meringue Pie Recipe
If you’ve ever craved a dessert that perfectly balances rich chocolate and airy sweetness, you’re going to love this Chocolate Meringue Pie recipe.
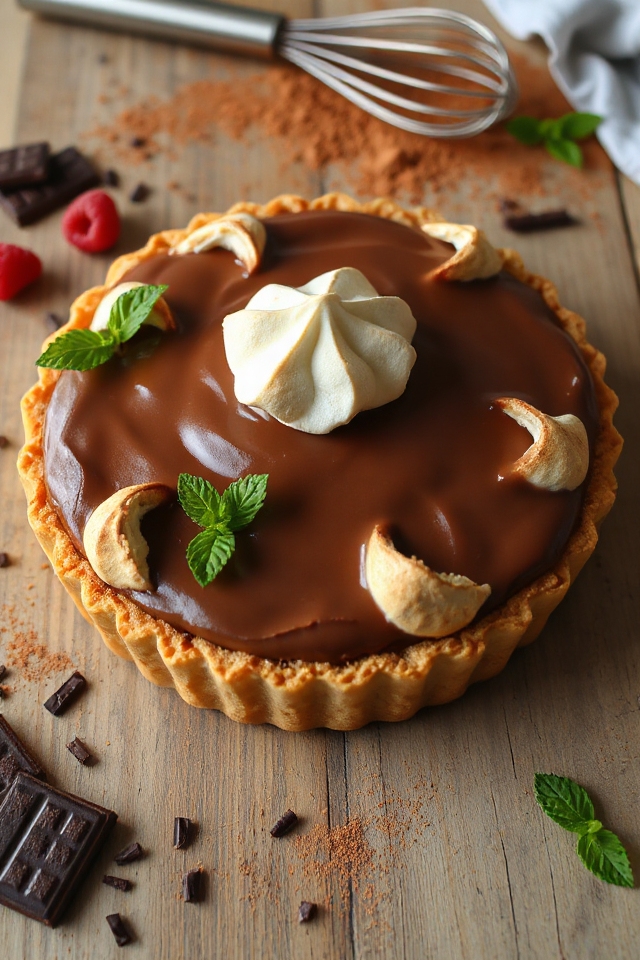
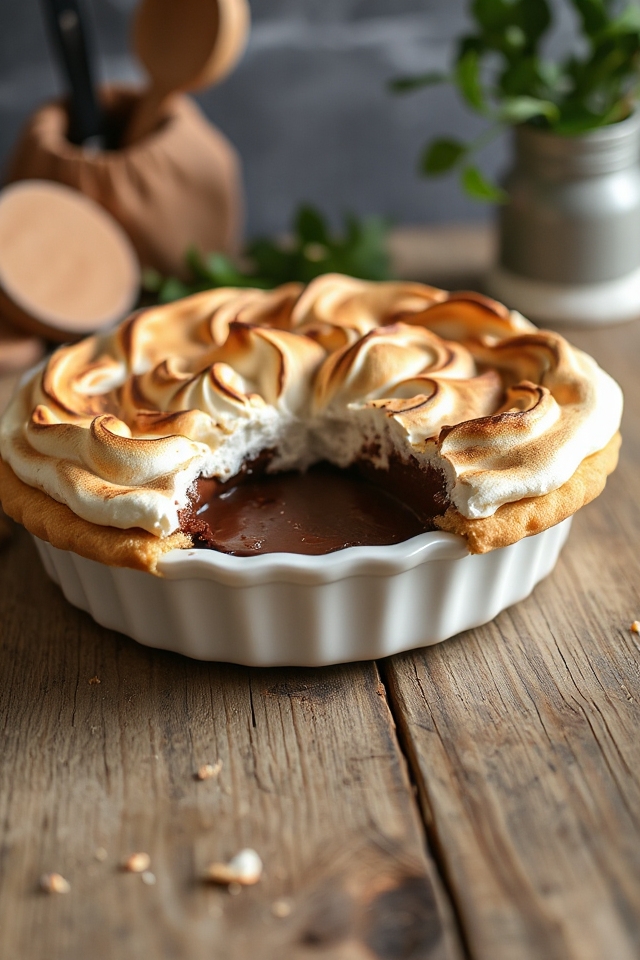
It’s a delightful treat that combines a silky chocolate filling with a light, fluffy meringue topping. Each bite offers a heavenly contrast of textures, making it a showstopper at any gathering.
I adore how the meringue creates a beautiful golden crust, adding visual appeal to the pie. Plus, it’s surprisingly easy to make!
This pie not only satisfies my sweet tooth but also impresses friends and family, leaving them wanting more. Trust me, you’ll be hooked!
Ingredients of Chocolate Meringue Pie
When it comes to making a Chocolate Meringue Pie, having the right ingredients on hand is key to creating that perfect blend of rich chocolate and fluffy sweetness we all crave.
It’s like a magic show in your kitchen, where simple ingredients come together to create something truly delightful. So, let’s gather our supplies and get ready for some pie-making fun.
Here’s what you’ll need to whip up your Chocolate Meringue Pie:
- Pastry dough, for a 9-inch single-crust pie
- 1 cup sugar
- 1/2 cup cocoa powder
- 3 tablespoons cornstarch
- 1/4 teaspoon salt
- 2 cups milk
- 3 egg yolks
- 1 teaspoon vanilla extract
- 3 egg whites
- 6 tablespoons sugar (for meringue)
Now, my friends, let’s talk about these ingredients a little more. The pastry dough is your foundation; you can make it from scratch or buy it pre-made if you’re feeling a bit lazy—no judgment here.
The cocoa powder is what gives that rich chocolate flavor, so don’t skimp on quality. And when it comes to the egg whites, they’re your secret weapon for that fluffy meringue.
If you’re worried about separating eggs (who isn’t sometimes?), just remember, practice makes perfect. Plus, if you make a mess, you can always laugh it off and claim it’s part of the charm of baking.
How to Make Chocolate Meringue Pie
Alright, folks, let’s plunge into the delightful world of making Chocolate Meringue Pie. First things first, we need to get that 9-inch pastry dough all set up. You can whip up your own or grab a pre-made one if you’re feeling like a superstar in the kitchen today.
Once you have your crust ready, it’s time to roll it out and line your pie pan. Crimp those edges like you mean it; it’s all about that presentation. Then, you’ll want to bake it until it’s golden and fully cooked—this step is essential because a soggy bottom is just not the vibe we’re going for here.
While that crust is cooling (maybe take a moment to admire your handiwork), let’s get started on the filling. Grab a medium saucepan and combine 2 cups of milk with 3 egg yolks. Stir it up until it’s nice and mixed.
Now, in a separate bowl, mix together 1 cup of sugar, 1/2 cup of cocoa powder, 3 tablespoons of cornstarch, and 1/4 teaspoon of salt. Trust me, this blend is where the magic happens. Add it to your milk and yolks, and then place the saucepan over medium-high heat. Keep stirring, and don’t be shy about scraping the sides and bottom of the pan. You want it to come to a gentle boil, then reduce the heat to medium. Keep at it for about 3 to 5 minutes until it thickens into this beautiful, shiny, chocolatey filling. Stir in 1 teaspoon of vanilla extract, pour it into your cooled crust, and let it sit at room temperature while we tackle the meringue.
Now, let’s talk meringue. In a large bowl, beat 3 egg whites with an electric mixer on medium speed until they get all foamy—like a cozy bubble bath. Then, crank up that speed to high and keep beating until they thicken up to a creamy texture.
Here’s where you add in those 6 tablespoons of sugar, but do it 2 tablespoons at a time. It’s like a dance; you want to give it time to incorporate before adding more. You’re looking for a meringue that’s thick and shiny, able to hold those curly firm peaks.
Once you’ve got that, pile it high over your chocolate filling, sealing those edges tightly—no filling should escape. Use a spoon to create those charming little peaks on top. Pop it in the oven at 325°F for about 10 to 15 minutes until the meringue is a lovely golden brown.
After it cools to room temperature, slice it up, serve, and watch your friends and family swoon. Who knew you’d such baking prowess?
Chocolate Meringue Pie Substitutions & Variations
While I love the classic Chocolate Meringue Pie, there are plenty of substitutions and variations you can try to put your own twist on this delightful dessert.
For a richer filling, consider using dark chocolate instead of cocoa powder. If you’re dairy-free, almond or oat milk works wonderfully in the filling.
For a fruity variation, add a layer of raspberry or cherry preserves beneath the meringue. You can also mix in a splash of espresso for a mocha flavor.
And don’t forget, experimenting with flavored meringues, like vanilla or peppermint, can elevate the pie to new delicious heights! Enjoy your creativity!
What to Serve with Chocolate Meringue Pie
What pairs perfectly with a slice of rich Chocolate Meringue Pie?
I love serving it with a dollop of freshly whipped cream on the side. It adds a light, creamy contrast to the dense chocolate filling.
Sometimes, I sprinkle a bit of shaved chocolate or cocoa powder on top to elevate the presentation.
A cup of coffee or a scoop of vanilla ice cream also complements the pie beautifully, balancing the sweetness.
For a revitalizing twist, a scoop of mint chocolate chip ice cream can add a fun flavor contrast that surprises everyone at the table.
Enjoy your dessert!
Additional Tips & Notes
When serving Chocolate Meringue Pie, keep in mind a few helpful tips to enhance your experience.
First, let the pie cool completely at room temperature; this guarantees the filling sets properly.
If you want to prevent the meringue from weeping, make certain to spread it over the filling while it’s still hot.
Also, don’t skip the decorative peaks; they not only look beautiful but also help the meringue bake evenly.
Finally, store any leftovers in an airtight container in the fridge, but try to enjoy it within a couple of days for the best texture and flavor.
Happy baking!