Why You’ll Love This Chocolate Ice Cream Recipe
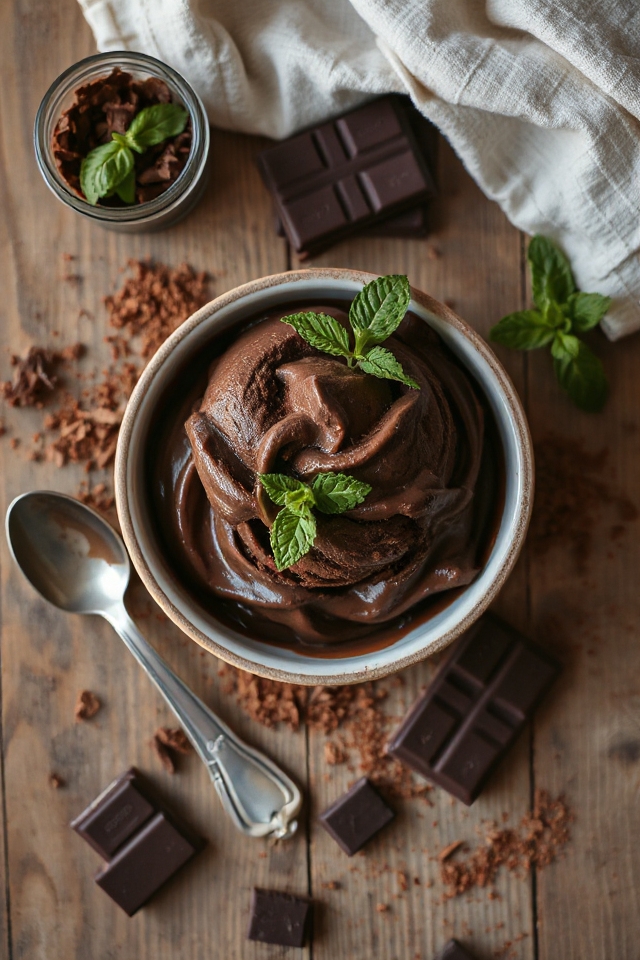
If you’ve ever craved the rich, creamy indulgence of chocolate ice cream, you’re going to love this recipe. It’s not just about satisfying a sweet tooth; it’s about creating a moment of pure bliss.
This recipe brings together the perfect balance of sweetness and chocolatey goodness, making every spoonful a treat. I adore how simple it’s to prepare, and the satisfaction of making it from scratch is unbeatable.
Plus, when you share it with friends or family, you’ll see their faces light up with joy. Trust me, this chocolate ice cream will become your go-to dessert for any occasion!
Ingredients of Chocolate Ice Cream
When it comes to making chocolate ice cream, the first step is gathering all the right ingredients. Trust me; you don’t want to be halfway through the process only to realize you’re missing something essential.
So, let’s get our shopping list ready. This chocolate ice cream recipe is loaded with delicious components that come together to create a creamy, dreamy dessert that’s perfect for any occasion.
Here’s what you’ll need for the ultimate chocolate ice cream:
- 2 2/3 cups granulated sugar
- 2 teaspoons cornstarch
- 6 cups white milk
- 4 eggs, beaten
- 6 semi-sweet chocolate baking squares, melted
- 1 1/3 cups half-and-half
- 2 cups cream
- 2 tablespoons vanilla extract
Now, let’s chat about those ingredients for a second. Each one plays a crucial role in achieving that velvety texture and rich flavor we all adore.
The granulated sugar sweetens the mix just right, while the cornstarch helps thicken it up — think of it as the glue that holds everything together.
Oh, and the semi-sweet chocolate? That’s where the magic happens, adding that deep chocolate flavor that’ll have your taste buds doing a happy dance.
You can absolutely play around with the proportions to suit your taste. Want it even richer? Go ahead and add a bit more chocolate.
Just don’t be surprised if you find yourself sneaking spoonfuls straight from the bowl before it even makes it to the ice cream maker. Who can resist?
How to Make Chocolate Ice Cream
Making chocolate ice cream is like a sweet little adventure in your kitchen, and trust me, it’s worth every minute. First things first, grab a large saucepan and toss in 2 2/3 cups of granulated sugar, 2 teaspoons of cornstarch, and a pinch of salt (if you like).
Now, here’s where the magic starts: over medium heat, slowly stir in 6 cups of white milk. This step is essential—keep stirring until the mixture begins to simmer gently. You can almost feel the anticipation building, right? Just as it starts to bubble, take a deep breath and slowly add in 4 beaten eggs, stirring constantly. This part is super important because we want to avoid scrambling those eggs. So, think of yourself as a gentle whisking maestro, keeping everything nice and smooth.
Once you’re on a roll and the mixture starts to thicken slightly, it’s time for the pièce de résistance: the chocolate. Take 6 semi-sweet chocolate baking squares that you melted earlier (and let’s be honest, you might’ve accidentally tasted some while melting) and whisk them into your creamy concoction. It’s going to look so rich and luscious, you might just want to dive right in. But hold that thought.
Now, slowly stir in 1 1/3 cups of half-and-half and 2 cups of cream—yes, we’re going for that creamy, dreamy texture. Finally, finish it off with 2 tablespoons of vanilla extract for that warm, comforting flavor we all love. Pour this glorious mixture into a large glass bowl, cover it up, and place it in the fridge for 2 to 4 hours. Here’s a little tip: this is a great time to practice your patience. Just think about how amazing it will taste later.
When the mixture is nice and chilled, it’s time to bring out your ice cream maker. Follow your maker’s instructions to churn the mixture until it’s frosty and thick. This part is like a mini workout, but trust me, it’s totally worth it when you’re scooping out that velvety chocolate goodness later.
And just a heads-up—if you find yourself sneaking spoonfuls from the bowl before it’s even frozen, I won’t tell a soul. Enjoy the process, and soon enough, you’ll have homemade chocolate ice cream that’ll make you feel like a kitchen rock star.
Chocolate Ice Cream Substitutions & Variations
While creating your chocolate ice cream masterpiece, don’t hesitate to explore some fun substitutions and variations that can elevate the flavor and texture.
For a richer taste, try using dark chocolate instead of semi-sweet. If you’re dairy-free, substitute coconut milk for cream and almond milk for half-and-half.
Want a twist? Add a splash of espresso or a pinch of sea salt to enhance the chocolate’s depth. You can even mix in your favorite add-ins like crushed cookies, nuts, or swirls of caramel.
Experimenting with these options can turn your classic recipe into something uniquely yours! Enjoy the process!
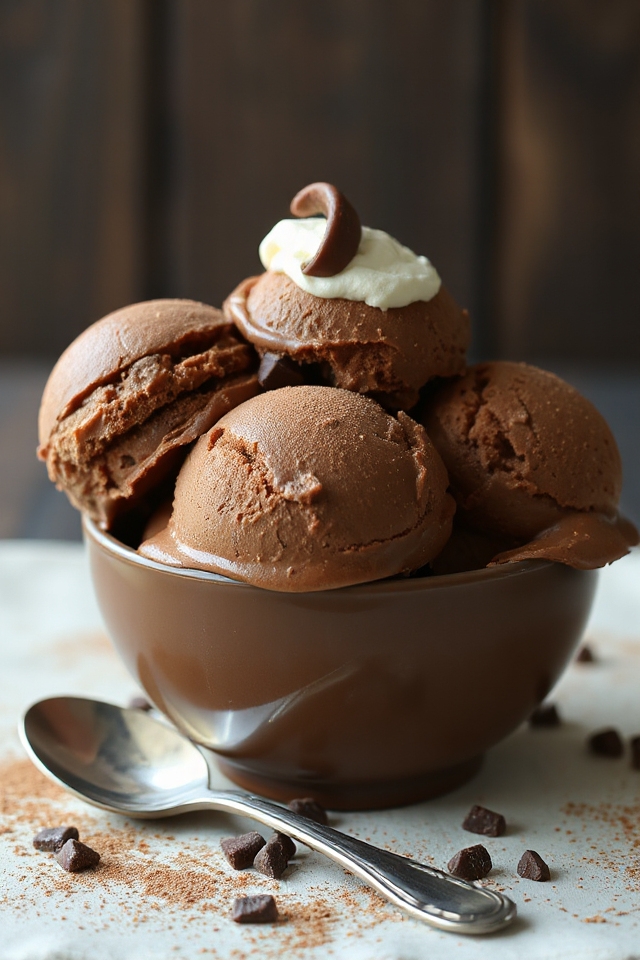
What to Serve with Chocolate Ice Cream
Serving chocolate ice cream is a delightful experience, especially when you pair it with complementary flavors and textures.
I love adding fresh berries, like raspberries or strawberries, to provide a tart contrast. Crushed nuts, such as almonds or hazelnuts, add a satisfying crunch. Drizzling warm caramel or fudge sauce over the ice cream elevates it to a whole new level.
You can’t go wrong with a sprinkle of sea salt to enhance the chocolate’s richness. And if you’re feeling adventurous, a dollop of whipped cream or a scoop of peanut butter can take your dessert to delicious heights.
Enjoy experimenting!
Additional Tips & Notes
To achieve the creamiest chocolate ice cream, I recommend using high-quality chocolate for the best flavor.
Don’t skimp on the fat content; using heavy cream and whole milk makes a big difference in texture. If you can, let the mixture chill overnight for a deeper flavor.
When churning, keep an eye on the consistency—stop when it’s thick but not completely frozen. For a fun twist, add mix-ins like nuts or chocolate chips just before it’s done churning.
Finally, store your ice cream in an airtight container to prevent freezer burn and enjoy it within a few weeks for peak taste!