Why You’ll Love This Sponge Cake Recipe
If you’re searching for a light, airy dessert that melts in your mouth, you’ll absolutely love this sponge cake recipe. It’s incredibly versatile, making it perfect for any occasion.
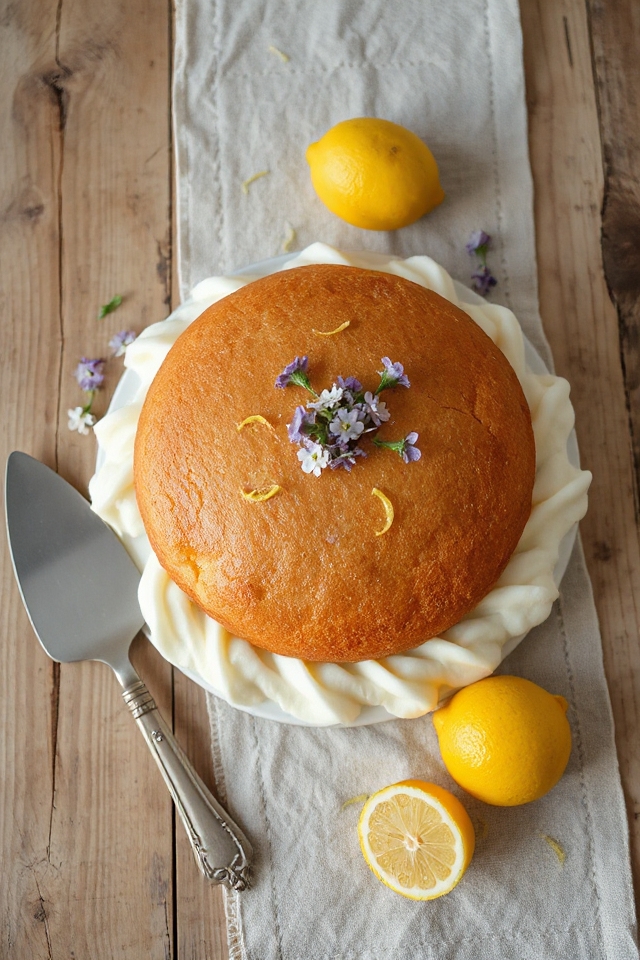
Whether you’re serving it plain, dressed up with fresh fruit, or layered with whipped cream, this cake never disappoints. I adore how simple it’s to whip up, yet the results feel fancy.
The texture is heavenly, and the subtle hints of lemon brighten every bite. Plus, it’s a great base for experimenting with flavors.
Trust me, once you try it, you’ll want to make it again and again!
Ingredients of Sponge Cake
When it comes to baking a delicious sponge cake, the right ingredients are key. This cake isn’t only light and fluffy, but it also has a lovely lemony flavor that brightens up every bite. Plus, it’s made with just a few simple ingredients that you probably already have in your kitchen.
Let’s take a closer look at what you’ll need to whip up this delightful dessert.
Here’s what you’ll need for the sponge cake:
- 6 large eggs
- 1 cup granulated sugar, divided
- 1 teaspoon pure vanilla extract
- 1 tablespoon water
- Zest of 1 medium lemon
- 1 cup cake flour
- 3/4 teaspoon cream of tartar
Now, before you start mixing things together, let’s chat a bit about these ingredients.
First off, the eggs are super important here—make sure they’re at room temperature for the best volume and texture. You’ll want to separate the yolks and whites, which can feel a bit like juggling if you’re not used to it, but it’s worth it.
The granulated sugar is what helps create that airy structure, so don’t skimp on that. And the cake flour? It’s lighter than all-purpose flour, which helps keep that sponge cake nice and soft.
You can even play around with the flavor—if you feel adventurous, why not add a splash of almond extract or a hint of orange zest?
Just remember, the key to a great sponge cake is all in the folding technique, so be gentle with your batter. Happy baking!
How to Make Sponge Cake

Making a sponge cake is one of those delightful baking adventures that can feel both a little intimidating and incredibly rewarding. So, let’s get started on this fluffy masterpiece. First, preheat your oven to 350°F.
While that’s warming up, go ahead and grab your 6 large eggs. You’ll need to separate the yolks from the whites, which might feel like a game of egg jenga if you’re not careful. Just remember, a little practice makes perfect. Once separated, cover both yolks and whites with plastic wrap to keep them nice and fresh, and let them come to room temperature. This is an essential step; trust me, your cake will thank you later.
Now, while those eggs are warming up, sift 1 cup of cake flour and mix in ¼ cup of granulated sugar. This little flour-sugar combo will keep your cake light and airy, which is exactly what we’re aiming for.
In your electric mixer, toss in the remaining ½ cup of granulated sugar along with the egg yolks. Beat them on high speed for about five minutes. You want them to be thick and fluffy, like a cloud of sunshine. Once you’ve reached that dreamy texture, mix in 1 teaspoon of pure vanilla extract, 1 tablespoon of water, and the zest of that medium lemon. Oh, that lemon zest is going to add such a bright flavor.
Next, sift your flour-sugar mixture over the yolk batter—just don’t stir it in. This is where we get fancy with technique.
In a separate clean bowl, whip those egg whites until they’re foamy, then add ¾ teaspoon of cream of tartar and continue to beat until soft peaks form. Gradually add the last ¼ cup of sugar, and keep whipping until you see shiny stiff peaks.
Now comes the fun part! Gently fold a bit of the egg whites into the batter to lighten it up. Then, carefully add the rest of the whites, folding just until everything is combined. Avoid over-mixing; otherwise, your cake might end up deflated, and we don’t want that.
Pour the batter into your ungreased tube pan, spread it evenly, and pop it in the oven for about 30 to 35 minutes. When it’s lightly browned and a toothpick comes out clean, let it cool for at least an hour before unmolding.
And there you have it, a lovely sponge cake that’s ready to be devoured. Happy baking!
Sponge Cake Substitutions & Variations
While traditional sponge cake is a classic delight, experimenting with substitutions and variations can elevate your baking game.
For a gluten-free option, I love using almond flour or a gluten-free blend. If you’re aiming for a richer flavor, substituting part of the sugar with honey or maple syrup works wonders.
You can also add pureed fruits like strawberries or mango to the batter for a fruity twist. For a chocolate sponge, simply replace some cake flour with cocoa powder.
Don’t forget to play with different extracts, like almond or citrus, to personalize your cake’s flavor profile. Enjoy the creativity!
What to Serve with Sponge Cake
After experimenting with various sponge cake variations, you’ll likely want to contemplate how to serve this delightful dessert.
I love pairing sponge cake with fresh berries; their tartness complements the cake’s sweetness perfectly. A dollop of whipped cream or a scoop of vanilla ice cream enhances its light texture.
For a special touch, drizzle some chocolate or fruit sauce over the top. If you’re feeling adventurous, a citrus glaze adds a zesty kick.
You can even enjoy sponge cake with a cup of tea or coffee for a cozy afternoon treat. It’s all about finding your perfect combination!
Additional Tips & Notes
To achieve the best results with your sponge cake, I recommend paying close attention to the egg whites’ beating process.
Make sure your mixing bowl is completely clean and dry to avoid any greasiness. I also find that folding the egg whites into the batter gently is key; this helps maintain the airy texture.
If you want a flavor twist, consider adding almond extract or a hint of citrus.
Always let your cake cool completely in the pan to avoid collapsing.
Finally, store any leftovers in an airtight container to keep it fresh for longer.
Happy baking!