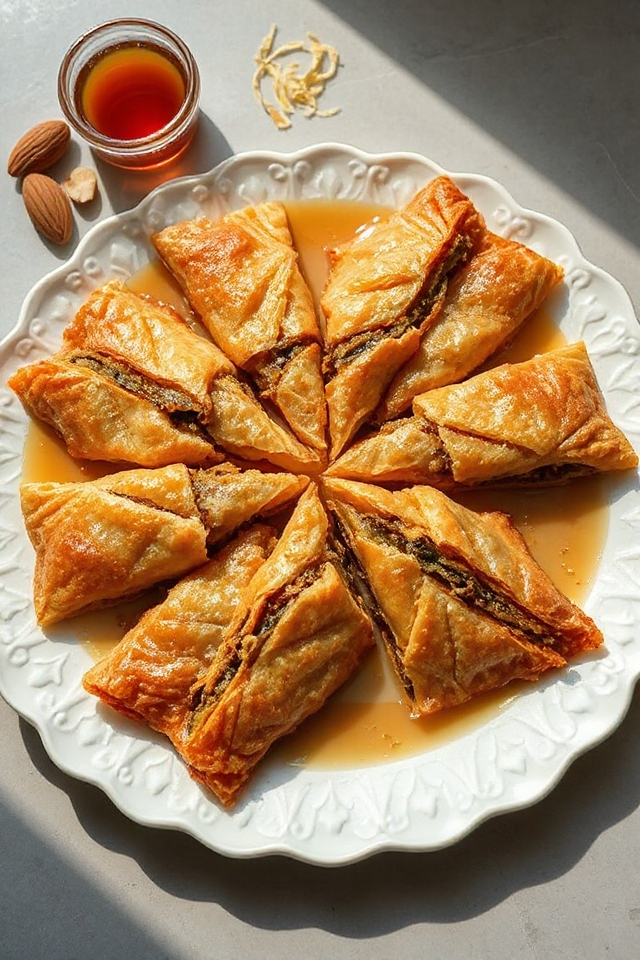
Why You’ll Love This Baklava Recipe
If you’ve ever tasted baklava, you know it’s a delightful treat that combines flaky layers of phyllo pastry with rich nuts and a sweet syrup.
What I love about this recipe is how simple it’s to make yet incredibly satisfying. Each bite offers a perfect balance of textures and flavors, making it hard to resist.
The aroma that fills your kitchen while it bakes is heavenly! Plus, it’s a fantastic dessert for gatherings, impressing friends and family alike.
Once you try this baklava, you’ll understand why it’s a beloved classic that never goes out of style.
Ingredients of Baklava
When it comes to making baklava, having the right ingredients is key to achieving that perfect, mouthwatering result. This dessert is all about layers and flavors, so let’s gather everything we need to make this sweet treat come to life.
It’s not just about the nuts and syrup; each ingredient plays a role in creating that signature taste that baklava lovers adore. So, grab your shopping list, and let’s plunge into what you’ll need to whip up this deliciously flaky dessert.
Ingredients for Baklava:
- 2 cups honey
- 1 cup sugar
- 1 cup water
- 1 teaspoon cinnamon
- 1 tablespoon grated orange rind
- 1 tablespoon orange juice
- 14 phyllo pastry sheets
- 1 cup melted butter
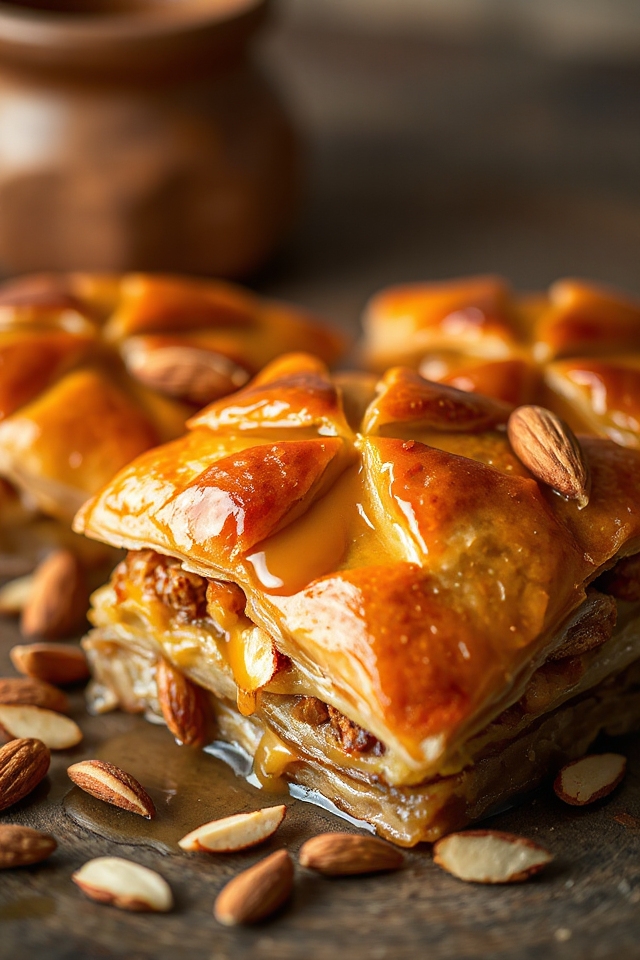
- 2 cups toasted almonds (or pistachios, pecans, or walnuts)
Now, let’s talk about a few considerations when it comes to the ingredients. First off, the nuts: while the recipe suggests almonds, you can totally mix it up with pistachios, pecans, or walnuts. Each nut brings a distinct flavor, so feel free to experiment based on your taste buds or what you have on hand.
If you’re feeling adventurous, why not blend a couple of different nuts? That could lead to some delicious surprises.
And when it comes to the phyllo pastry, make sure it’s thawed properly before you start layering. Nothing’s worse than trying to work with frozen sheets that just won’t cooperate. Trust me, I’ve been there, and it wasn’t pretty.
Finally, don’t rush the syrup; letting it cool down after boiling is essential. It’s all about that perfect drizzle over the warm baklava.
How to Make Baklava
Making baklava is like setting off on a delightful adventure, and trust me, the results are worth every little step.
First things first, let’s tackle that syrup. In a saucepan, combine 2 cups of honey, 1 cup of sugar, and 1 cup of water. Add in a teaspoon of cinnamon, a tablespoon of grated orange rind, and the juice from that same orange. Bring it all to a gentle boil, then let it simmer on low heat for about 10 minutes. When the syrup has thickened up a bit, take it off the heat and let it cool. I know, I know, it’s hard to resist the temptation of just diving into that syrup, but patience is key here.
Now, onto the fun part: layering those phyllo pastry sheets. Grab a shallow baking pan and grease it up. Lay down 4 sheets of phyllo, brushing each one with 1 cup of melted butter. It’s like giving each sheet a cozy butter blanket, and trust me, that’s what makes it flaky and delicious.
Once you’ve got your initial layer down, sprinkle on a layer of 2 cups of toasted almonds (or whatever nuts you’ve chosen). Drizzle a little melted butter and some of that cooled syrup over the top, and repeat the process with 2 additional sheets, more nuts, butter, and syrup three times in total.
When you’ve reached the last layer, cover it with the remaining sheets of phyllo, brushing each with butter as well. It may feel a bit tedious, but just think of the glorious baklava waiting for you.
Before you pop it in the oven, take a sharp knife and cut through the top layers of phyllo diagonally to create about 24 diamond shapes. Bake it in a preheated oven at 350 degrees for 30 minutes, then crank up the heat to 400 degrees and bake for another 10 to 15 minutes until it’s golden brown and irresistible.
The aroma is going to fill your kitchen, and you might start wondering if you should just eat it straight out of the oven. But hold your horses! Once it’s done, pour that cooled syrup over the hot baklava, and let it sit to soak in all that deliciousness.
Finally, slice through those diamond shapes again to make sure each piece is ready to be devoured. And don’t forget to brush the top with any remaining melted butter for that extra touch of decadence. Enjoy the sweet rewards of your labor; you’ve earned it!
Baklava Substitutions & Variations
After you’ve mastered the basic baklava recipe, you might want to explore some substitutions and variations to make it your own.
For the nuts, I often switch between walnuts, pistachios, or pecans, depending on what I’ve on hand. You can also experiment with spices; adding cardamom or nutmeg brings a unique twist.
If you want a different flavor profile, try using maple syrup instead of honey. For a citrus kick, a splash of lemon juice in the syrup works wonders.
Finally, consider adding chocolate chips or dried fruits like raisins or apricots for added texture and taste!
What to Serve with Baklava
While baklava is a delightful treat on its own, pairing it with the right accompaniments can enhance the overall experience.
I love serving baklava with a cup of strong Turkish coffee or fragrant mint tea; they complement the sweetness perfectly. A scoop of vanilla ice cream also adds a creamy contrast that I find irresistible.
For a revitalizing touch, try a fruit salad with citrus notes, which balances the richness of the baklava.
Finally, sprinkling a bit of finely chopped pistachios on top not only looks beautiful but also adds an extra layer of flavor that’s simply delicious!
Additional Tips & Notes
Pairing baklava with beverages like Turkish coffee or mint tea elevates the experience, but there are a few additional tips that can make your baklava even more delightful.
First, experiment with nut combinations; I love mixing walnuts and pistachios for added flavor.
Also, don’t rush the cooling process after pouring on the syrup; letting it soak in enhances the sweetness.
For a unique twist, try adding a splash of rose or orange blossom water to the syrup.
Finally, store baklava in an airtight container to keep it crisp.
Enjoy every bite—it’s worth the effort!